


Admin Studio is one of those areas that developers often ignore until something breaks in production.
That is a mistake.
Whether you are a developer or an administrator, getting familiar with Admin Studio early will save you a lot of pain later. Let me walk you through the key areas.
What Admin Studio Is For
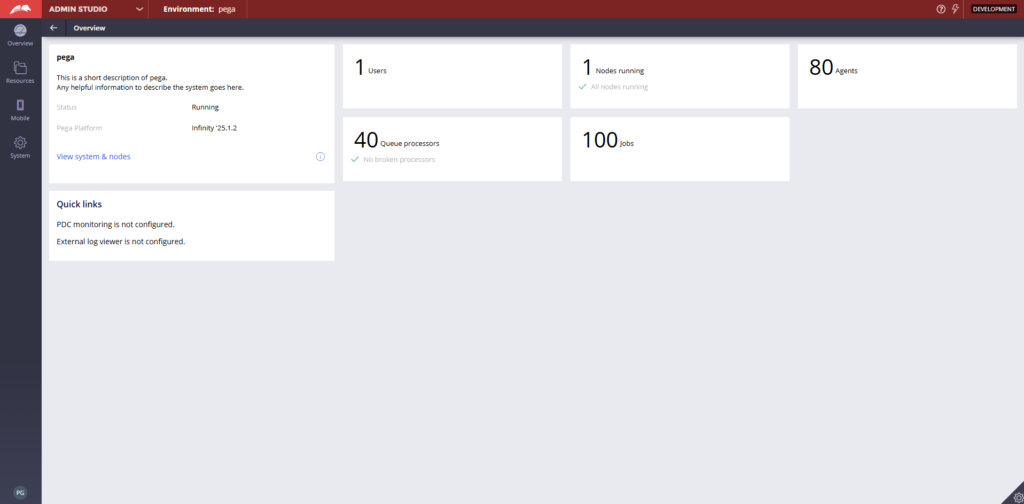
Admin Studio came in with Pega 8 to replace the older System Management Application – SMA. If you worked on earlier Pega versions, you would remember SMA as a standalone Java application. Admin Studio brought all of that functionality inside Pega itself, and made it significantly more user-friendly.
The main job of Admin Studio is managing system resources – requesters, background processing, agents, queue processes, listeners and system settings.
Requestors
In Pega, there are four types of requesters worth knowing.
Browser – for end users accessing Pega via a browser. Batch – created for background processing jobs. App – for listeners and external application services. Portal – for HTTP access as a portlet.
From Admin Studio you can see all active requesters, filter by type, check their details and even terminate a session if needed. Useful when you need to kick out a stuck or problematic session.
Requester pooling is also worth understanding. When external systems call a Pega service, Pega creates app requesters to handle those calls. With pooling, you reserve a set of requesters for service use – so you are reusing existing resources rather than spinning up new ones every time. Better performance, less overhead.
Background Processing
This is the area I use most in Admin Studio.
Before Pega 8, background processing relied on agents – standard and advanced. Pega 8 introduced two new rule types – job schedulers and queue processes – both of which perform better than the older agent rules. Pega’s direction is to move away from agents entirely, but for now both exist in the platform.
Agents – you can see all agents, check their status – running, stopped or exception – and trace or stop them directly from Admin Studio.
Agent Queues – this is something I check almost daily in production. If your application depends on background processing, you need to keep an eye on broken queue items. When you find one, check the error message, then decide whether to requeue or remove it.
Job Schedulers – shows all scheduled jobs with useful metrics – number of executions, success rate and more. You can also trace a job run from here.
Queue Processes – lists all available queue processes. You can check broken items, stop the processor or trace it.
Listeners – listeners wait for a specific event before triggering an action. File, email, JMS, MQ – each type waits for something different. A file listener, for example, waits for an incoming file in a specific location and triggers processing when it arrives. You can start, stop and trace listeners from here.
System Settings
Pega ships with a large number of system settings with default values. If you have configured settings in the prconfig file, those apply at a single server level. If you want settings to apply uniformly across all servers in a cluster, configure them at the database level through Admin Studio.
APIs
Admin Studio gives you a Swagger page with all the APIs that ship out of the box with Pega. Case processing, data processing, DevOps metrics, guardrail compliance, server administration – all exposed and documented. You do not need to build these – they come with the product.
Watch the Full Walkthrough
I walk through every section of Admin Studio live in the video below – including requesters, background processing, listeners and system settings in action.
Admin Studio is not glamorous. But it is essential. The sooner you get comfortable navigating it, the better placed you will be when something goes wrong in production – and something always does.

