

Every Pega application ships with the same default login screen – the Pega logo, the blue and white theme, the standard layout.
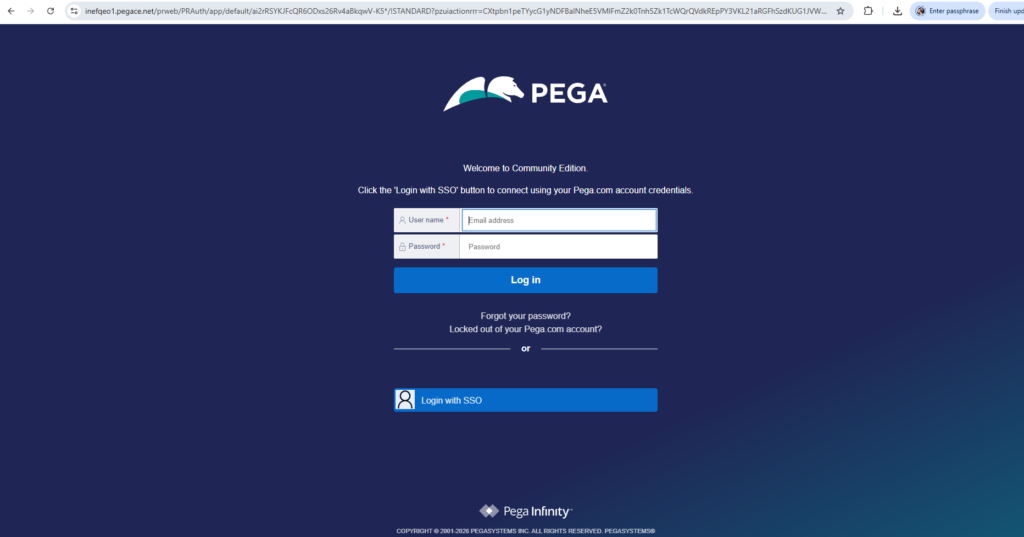
That is fine for development. But when you are building an application for a real client, they are not going to want Pega’s branding on their login page. They want their logo. Their background. Their look and feel.
Here is how you do it.
The Four Steps at a High Level
Customizing the login screen in Pega comes down to four things. Creating an unauthenticated application layer and ruleset. Creating an unauthenticated access group that points to it. Updating the browser requester type to use the new access group. And finally customizing the HTML and CSS rules that control the login screen appearance.
Each step builds on the previous one. Skip one and nothing works.
Detailed video presentation is attached at the end of this blog
Step 1 – Create the Unauthenticated Application Layer
Before login happens, users are unauthenticated. They still need rules to execute – screens to render, styles to load. Those rules need somewhere to live.
You create a new application layer manually – not through the application creation wizard, which creates too many supporting rules you do not need. The key thing here is that this application should build on Pega Rules as its base, not your implementation application. Unauthenticated users do not need access to your implementation layer.
Step 2 – Create an Unauthenticated Access Group
Every user in Pega – authenticated or not – needs an access group to reach an application. Unauthenticated users are no different.
Save as the existing out-of-the-box PRPC Unauthenticated access group, point it to your new application, and make sure it includes the PegaRulesGuest access role. That role is what allows Pega’s engine code to function correctly for guest sessions.
Step 3 – Update the Browser Requester Type
When a browser hits your Pega URL, a browser requester is created. That requester needs an access group to know which application to load – including the login screen rules.
Go to your system’s browser requester type and update the default access group to point to your new unauthenticated access group. One important tip here – always make sure you have an active session open before making this change. If something goes wrong with the configuration, you need a way back in.
Step 4 – Customize the HTML and CSS
Two rules control the login screen appearance.
The first is the web-login HTML rule – this controls the structure and elements on the screen, including where the logo image is referenced. Save as this rule into your unauthenticated ruleset and update the image source to point to your client’s logo, which you upload as a binary file instance.
The second is the py_login_screen CSS rule – this controls styles, colours and the background image. Save as into your ruleset and update the body background to reference your client’s background image binary file.
Once both are updated and checked in, open a fresh browser session – do not use a cached session or your CSS changes will not show – and your customized login screen will be live.
Watch the Full Walkthrough
In the video below I walk through all four steps live – creating the unauthenticated application, access group, updating the requester type and customizing both the logo and background image for the Alife Insurance organization.
Login screen customization is one of those tasks that looks complicated but follows a very logical sequence once you understand the unauthenticated user model in Pega. This video makes it straightforward.

