Docker – Part 2 – Setup Docker Desktop in Windows

In this blog article, we will see how we can set up the docker desktop in Windows 10 home edition.
You can visit previous blog article on containerisation basics.
Tip: Since copy/paste is not possible in this article, I documented the shell commands in the following git repository, you can easily copy/paste from there.
https://github.com/Prem1991/myknowpega/tree/master/docker
What is Docker desktop?
It is an application designer for Windows and Mac users to build and share containerized applications.
Docker desktop includes Docker engine, Docker CLI client, Docker compose, Kubernetes etc. All these come within the installed application.
Note: In the next post we will talk in detail about the docker engine and docker CLI. For now, let’s concentrate to install the docker desktop.
Types of docker containers
There are two main types of containers
Enjoying this content?
Access the author’s full video courses here at MyKnowAcademy.
Explore Courses →
1. Windows containers – The Windows based applications that are containerized
2. Linux containers – Linux-based applications that are containerized.
What are the main differences between Windows containers and Linux containers?
Docker can work seamlessly with Linux but with Windows, you have certain restrictions like running on certain editions. Recently there have been a lot of improvements with Windows compatibility as well.
Linux containers can run inside a Windows machine using either Hyper-V or using WSL, but the other way of running Windows containers in a Linux machine is not possible!!
Docker desktop when installed can be switched to either Windows container mode or Linux container mode.
Windows 10 home edition does not support Windows containers, instead, it supports Linux containers via WSL2.
What is WSL2?
WSL stands for Windows Subsystem for Linux. It is a compatibility layer for running Linux binaries on a Windows 10 machine.
It was introduced in 2019. You can browse more on it.
Let’s start with installing the docker desktop for Windows 10 home edition.
How to install Docker desktop on Windows?
https://docs.docker.com/docker-for-windows/install/
I am going to explain the same steps mentioned in the link in my way
What are the system requirements for Windows 10?
1. Window home edition with build version higher than 18362.

2. Make sure to have 4GB RAM with 64-bit processor.
3. Enable the WSL2 feature.
4. Download the Linux kernel update package.
How to enable the WSL2 feature to support Linux?
Step 1: Enable the WSL feature.
Open your PowerShell as administrator and run the below command.
dism.exe /online /enable-feature /featurename:Microsoft-Windows-Subsystem-Linux /all /norestart
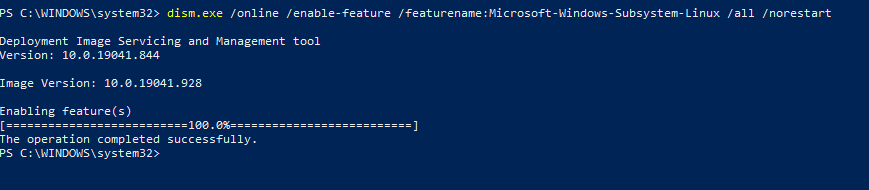
This command will enable the Windows Subsystem for Linux optional feature.
Step 2: Enable the virtual machine feature.
Open your PowerShell as administrator and run the below command.
dism.exe /online /enable-feature /featurename:VirtualMachinePlatform /all /norestart
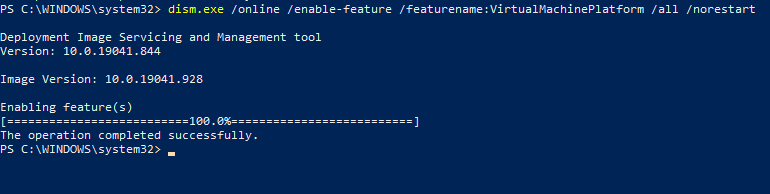
You should restart your system at this stage to enable the WSL feature.
Step 3: Download the WSL2 Linux kernel update package.
Follow the link to download the package – https://wslstorestorage.blob.core.windows.net/wslblob/wsl_update_x64.msi
Execute the downloaded package.

Complete the wizard steps.
Step 4: Set WSL2 as your default version.
Open your PowerShell as administrator and run the below command.
wsl –set-default-version 2

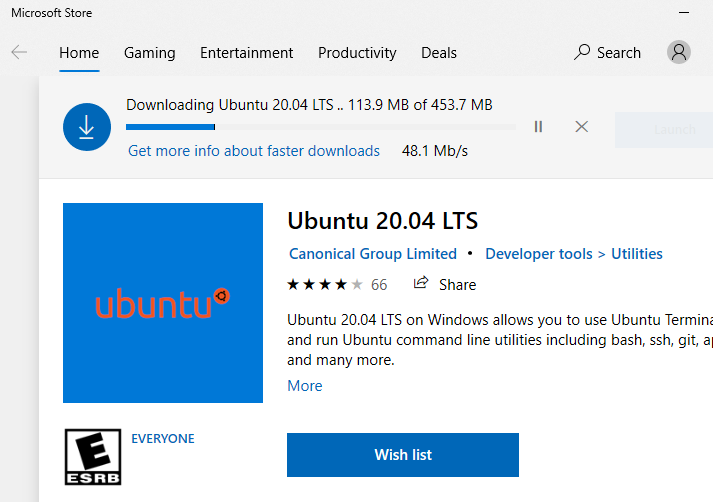
Step 5: Install the Linux distribution of your choice.
I am going to use Ubuntu flavour.
https://www.microsoft.com/store/apps/9n6svws3rx71
Click get to download and then install it.
On installing you may be prompted with a username and password for the Linux machine.
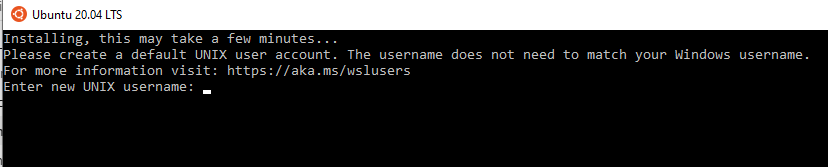
Now we have successfully installed and set up a Linux distribution in a Windows machine.
Now all our systems requirements and checked. Let’s install the docker desktop application.
https://docs.docker.com/docker-for-windows/install/
Click on the docker desktop for Windows.

It will download the installer of size 500 MB
Once downloaded, start the installer and keep it default checked.
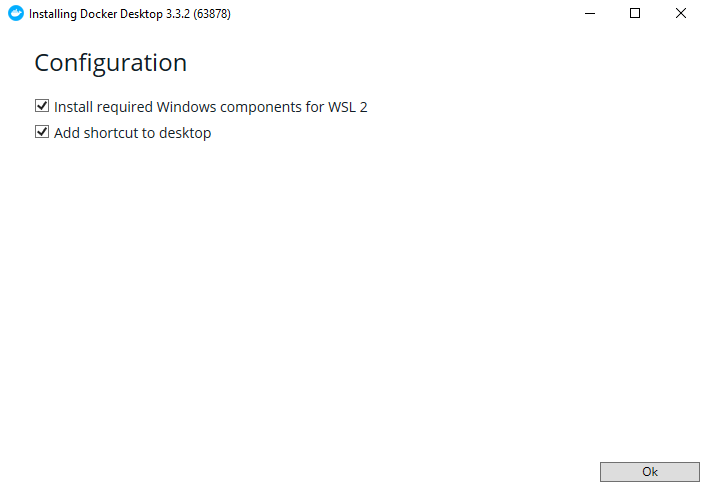
It should download some packages and complete them successfully.
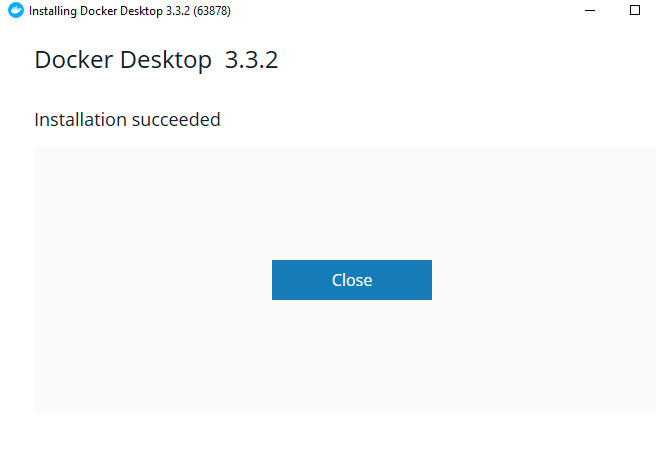
By default, the docker application will not be launched. You need to open the application.
You should see the green background docker icon. If yes, you succeeded in setting up the docker desktop in your local machine.
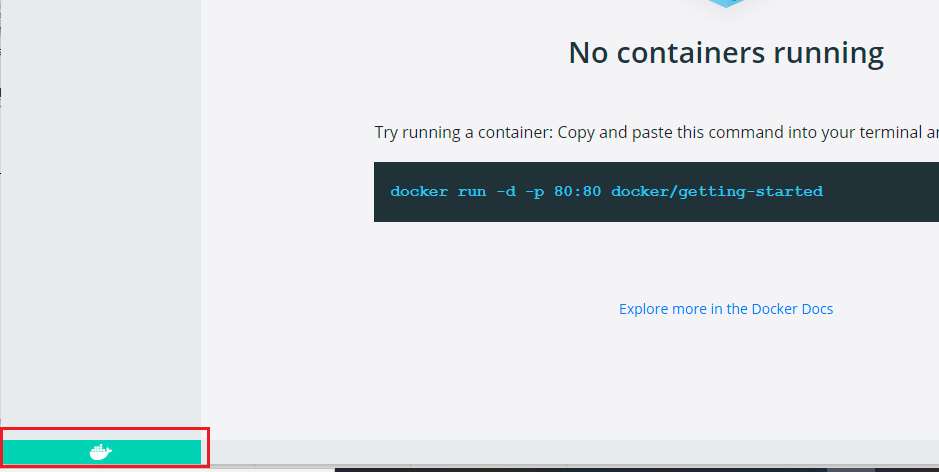
You see there are no containers running yet.
In the left panel, you can see the containers/applications, images and environment details if we created any.
Click on the setting icon, you will find the general settings for the docker desktop.
One important configuration is Resources -> WSL integration.
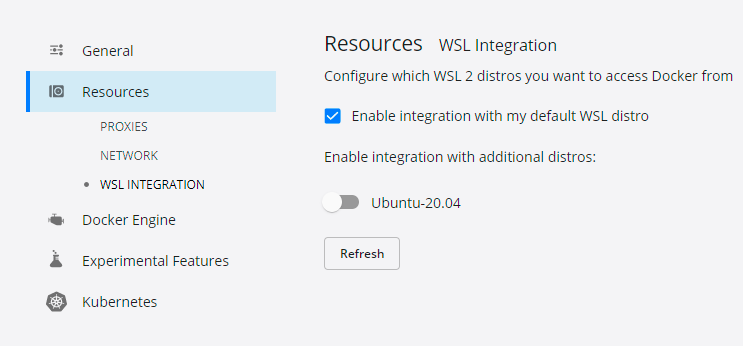
Here you see by default, integration is done with default WSL distribution.
You can usethe PowerShell command to check the default WSL distribution
wsl –list
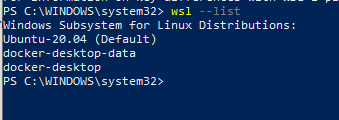
It says already Ubuntu-20.04 is the default WSL distro
For more WSL commands, you can check the below link – https://docs.microsoft.com/en-us/windows/wsl/wsl-config
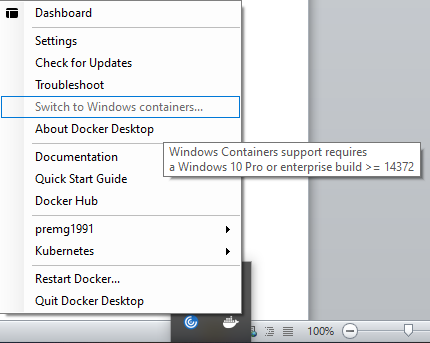
We are at the end of this post. As I said at the start with the Windows 10 home edition, you cannot use the Windows container support and only Linux containers are supported.
On the taskbar, click the docker icon, and you see a switch to Windows containers is disabled with a tooltip message.
Hope you are all able to set up your docker desktop application on your local machine.
In the next blog article, we will dig into more detail about the Docker architecture and the Docker objects and run our first container.