Unauthenticated ruleset and customize login screen in Pega
In this article, we will explore the purpose and implementation of an Unauthenticated Ruleset and provide a step-by-step tutorial on how to customize login screen in Pega application using Tranditional UI Design system.
Detailed video lecture link can be found at the bottom of this blog article!
Note: This tutorial is implemented using Pega 8.2. Please be aware that the corresponding HTML structure and code may vary in earlier or later versions of the platform.
In Pega, rules and data instances drive all business processing. But how does Pega decide which rules to run for a specific user?
The Business Scenario
Imagine an insurance organization, “AAA.” Two employees, Jon (Sales) and Arya (Customer Service), use Pega daily. When Jon logs in, he sees a Sales dashboard, while Arya sees a Service portal.
At the backend, Pega uses Rule Resolution based on the user’s profile to fetch the correct application rules. The logic follows this hierarchy:
Operator ID -> Access Group -> Application -> Ruleset Stack
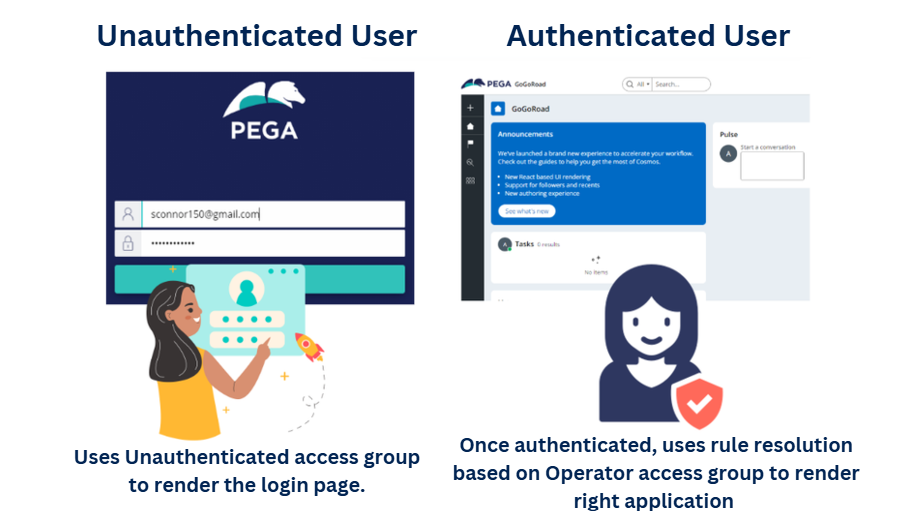
Since Jon’s profile points to the Sales application, Pega resolves and renders Sales-specific rules. This works seamlessly because Jon is an authenticated user.
The Challenge: Handling Unauthenticated Sessions
How do you render a screen to a user before they are authenticated?
Enjoying this content?
Access the author’s full video courses here at MyKnowAcademy.
Explore Courses →
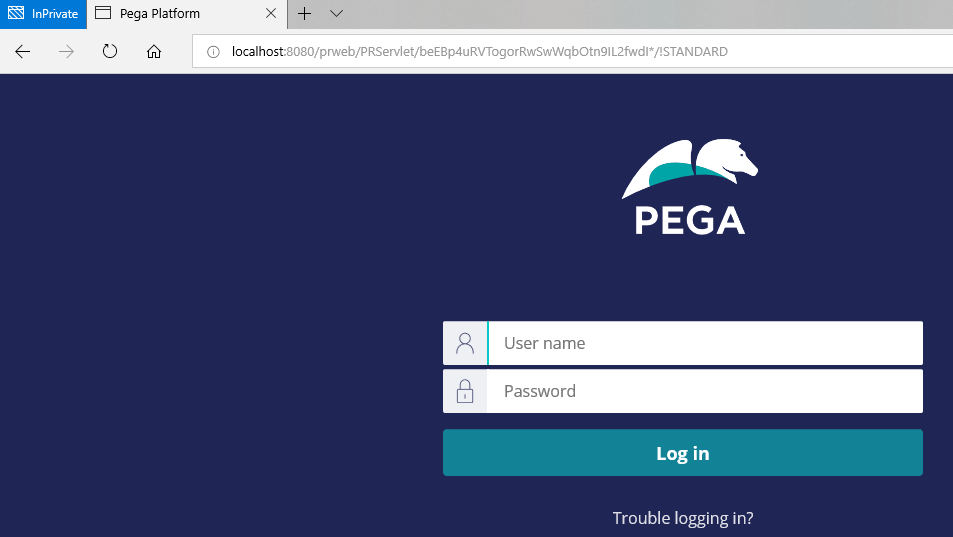
The most common example is the Login Screen. Since the user hasn’t logged in yet, Pega doesn’t know their Operator ID or Access Group. These sessions are known as Unauthenticated or Guest user sessions.
When you hit a Pega URL, a new browser requestor session is launched.
You can inspect this configuration in the System Administration records:
Records -> SysAdmin -> Requestor Type -> Browser Requestor
Opening the prpc or pega Browser requestor type reveals that it references the PRPC:Unauthenticated access group. More about browser requestor types can be found in this blog article

This access group points to the PegaRULES application. This ensures that guest users are strictly restricted to core Pega rules and have no access to your private enterprise applications.

Customizing the Login Screen
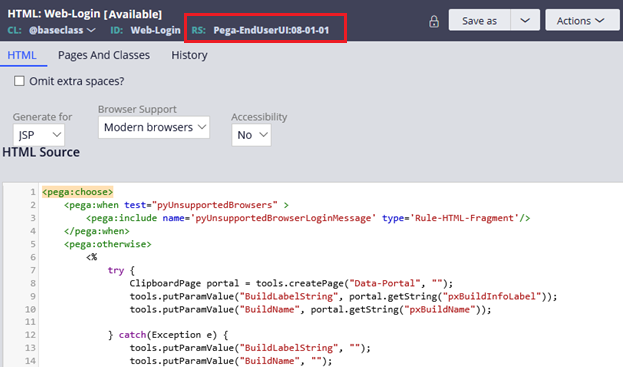
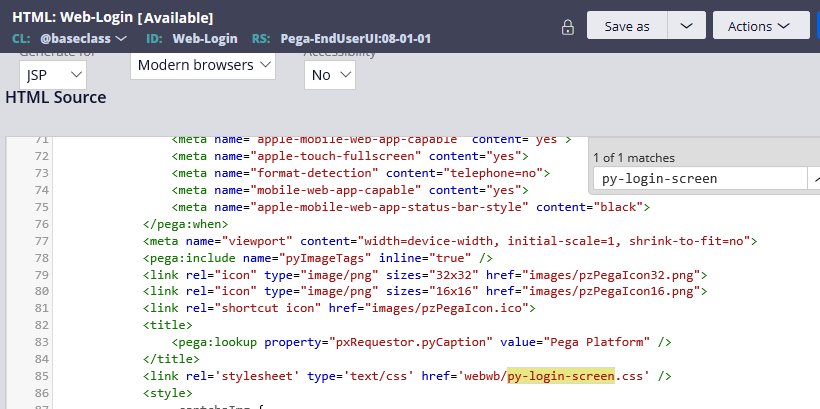
The HTML rule Web-Login is responsible for rendering the login page. It resides in the Pega-EndUserUI ruleset.
To customize this screen, we face two major restrictions:
- Restriction 1: You cannot save the modified
Web-Loginrule into PegaRULES rulesets. - Restriction 2: You cannot point the Unauthenticated access group to your enterprise application for security reasons (you don’t want guests accessing internal logic).
The Solution: Create a dedicated Unauthenticated Ruleset and add it specifically to the Unauthenticated access group.
Tutorial: Step-by-Step Customization
Prerequisite: Setting the System Name
In real-world enterprise projects, every environment manages its own unique system name. If you haven’t set one yet, follow these steps:
1. Create a System Name: Navigate to Records -> System -> System -> Create.
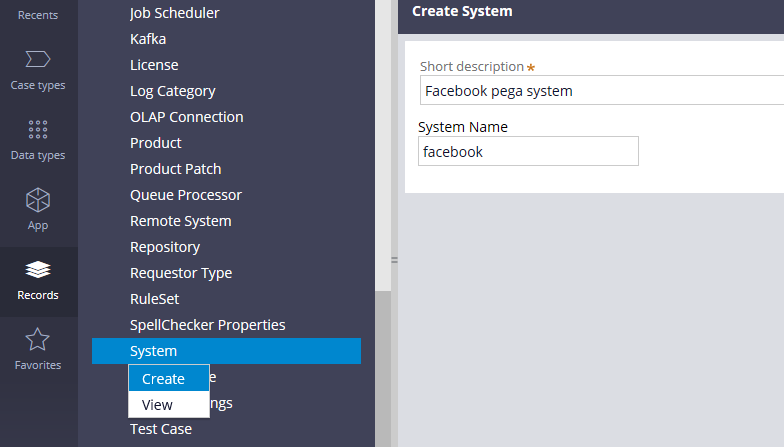
2. Configure the System:
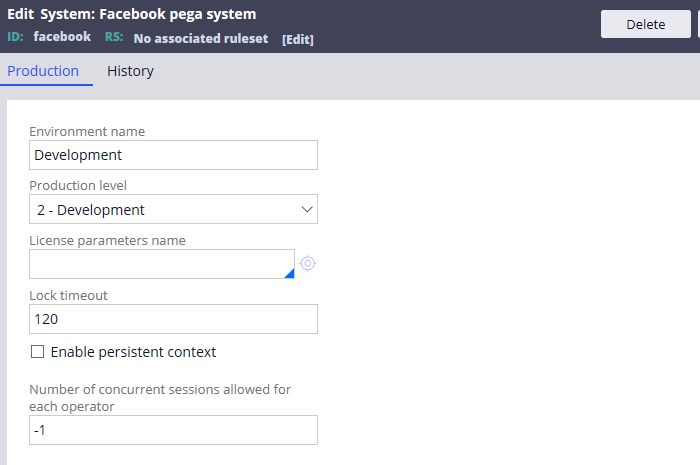
- Environment Name: e.g., Dev, Test, or Production.
- Production Level: 1 (Sandbox) to 5 (Production).
- Lock Timeout: System-wide case locking duration.
- Concurrent Sessions: Limit sessions per operator (-1 for unlimited).
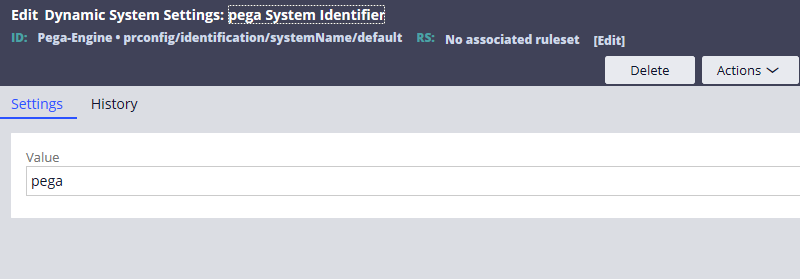
3. Update the Default System: Go to Dynamic System Settings (DSS) and search for prconfig/identification/SystemName/default.
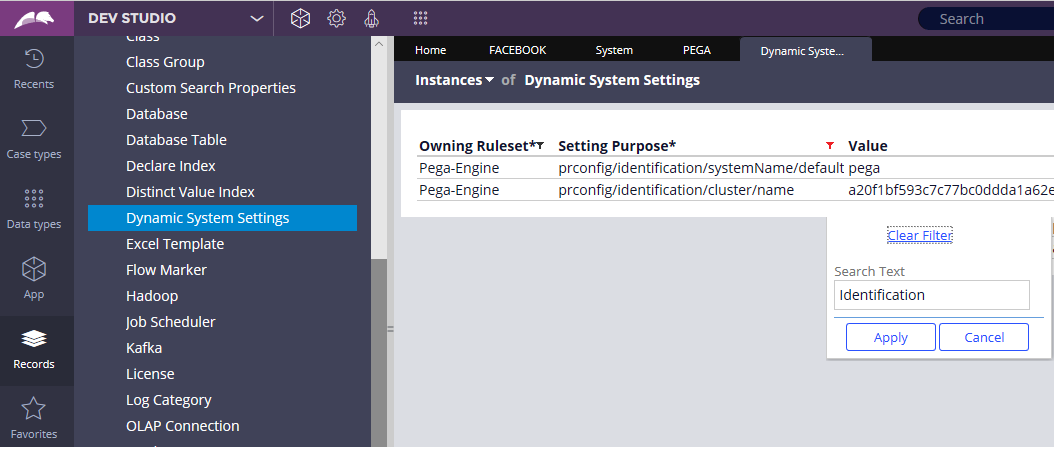
Change the value from pega to your new name (e.g., facebook).
4. Restart the Server: For the changes to take effect, a restart is required. After restarting, verify the change under System -> General -> Systems, Nodes, Requestors.
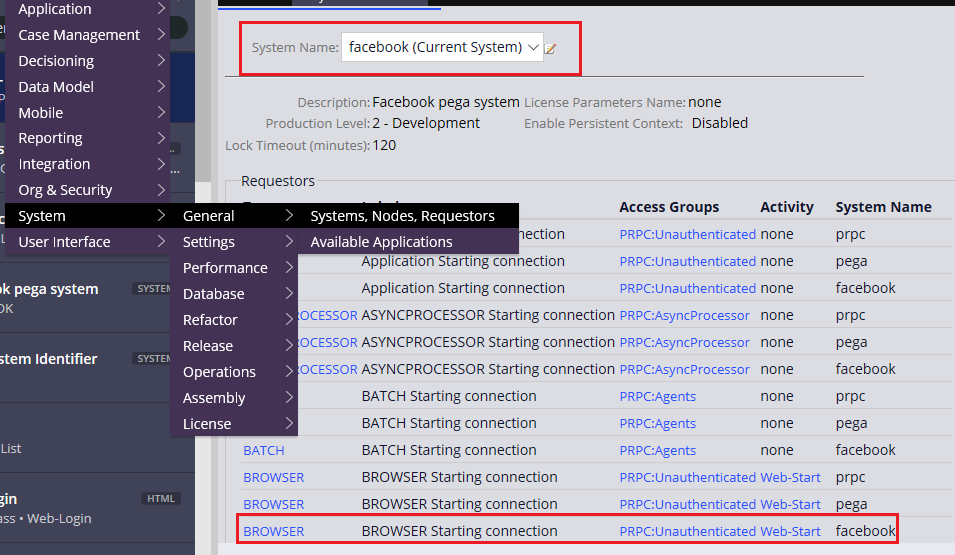
You can click and open the BROWSER requestor.
What are the steps to customize the login screen?
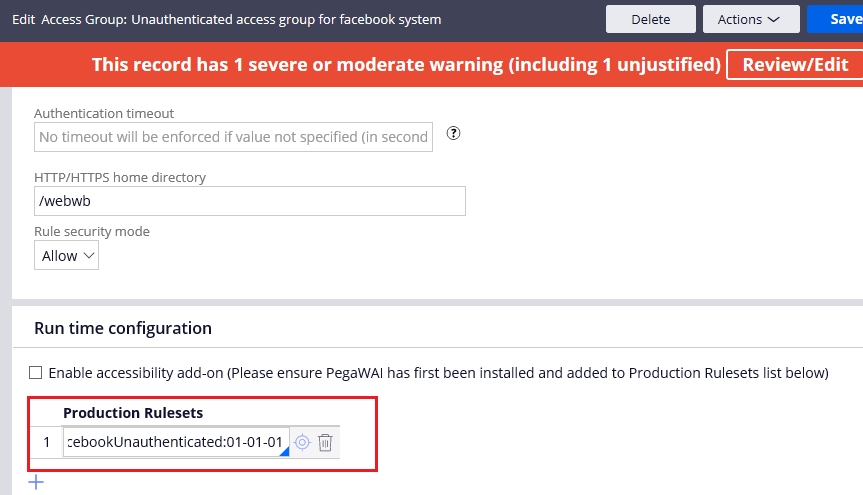
Step 1: Create a New Access Group
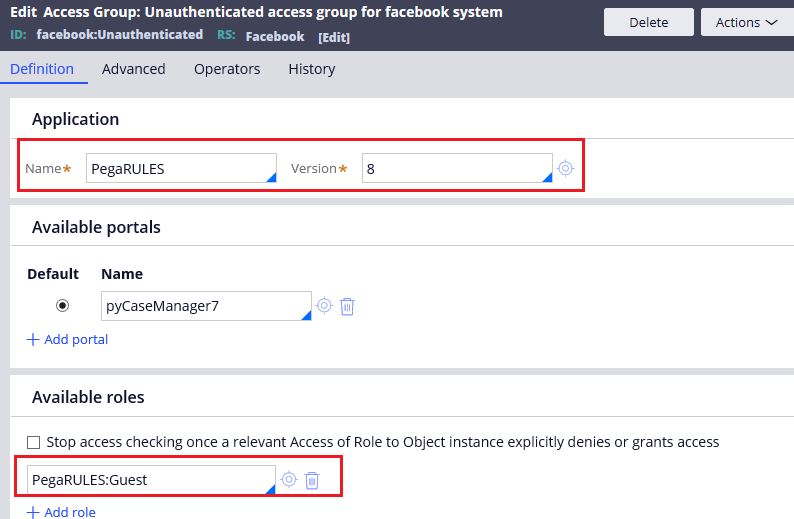
Create an access group for your new system (e.g., facebook:Unauthenticated).
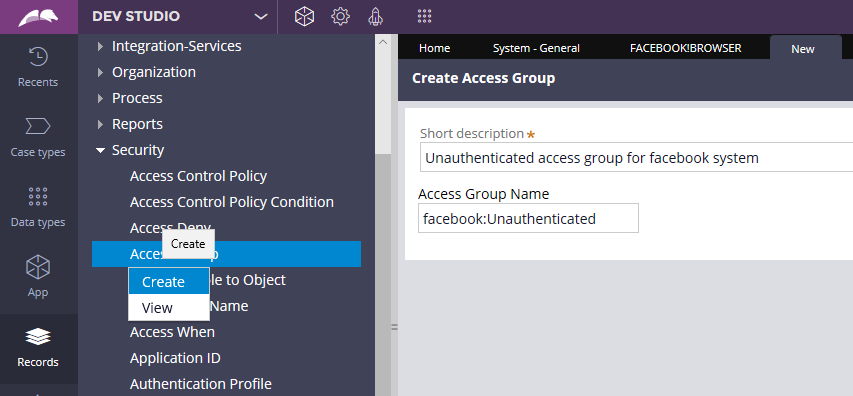
Configure the access group as shown below.
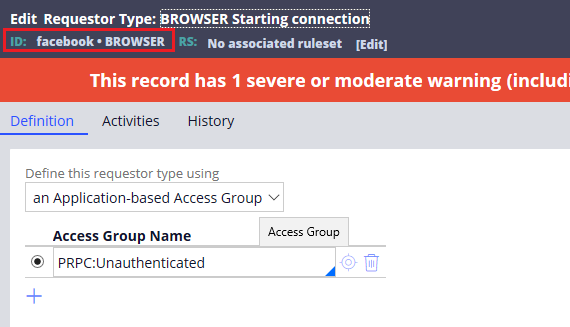
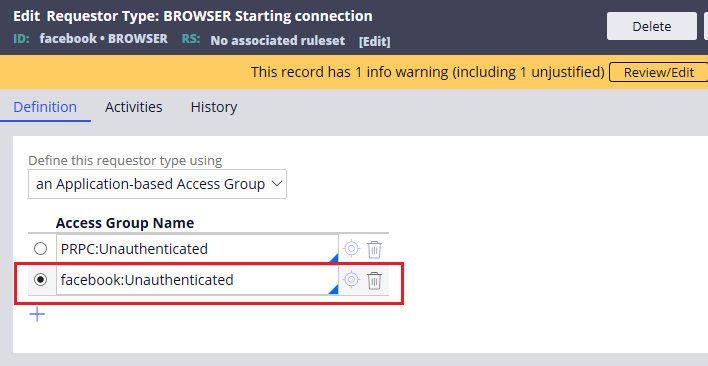
Step 2: Update Requestor Type
Add this access group to your BROWSER requestor type for the new system.
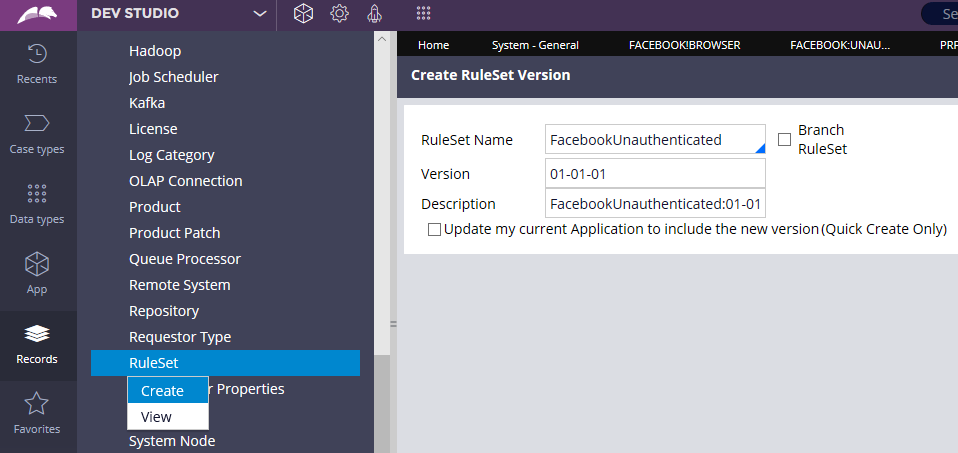
Step 3: Create the Unauthenticated Ruleset
Create a new ruleset (e.g., facebookUnauthenticated).
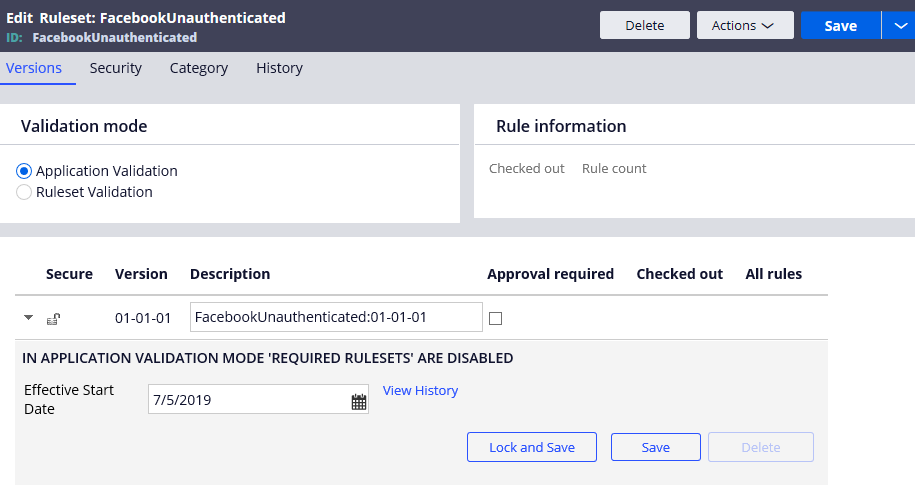
Step 4: Add to Production Rulesets
In the Advanced tab of your unauthenticated access group, add this ruleset to the Production Rulesets list. (Ignore the warning regarding application association).
Step 5: Customize the CSS
The login screen’s look and feel is controlled by py-login-screen.css.
Step 6: Update the Background
“Save As” the py-login-screen.css file into your new unauthenticated ruleset. Update the background image path.
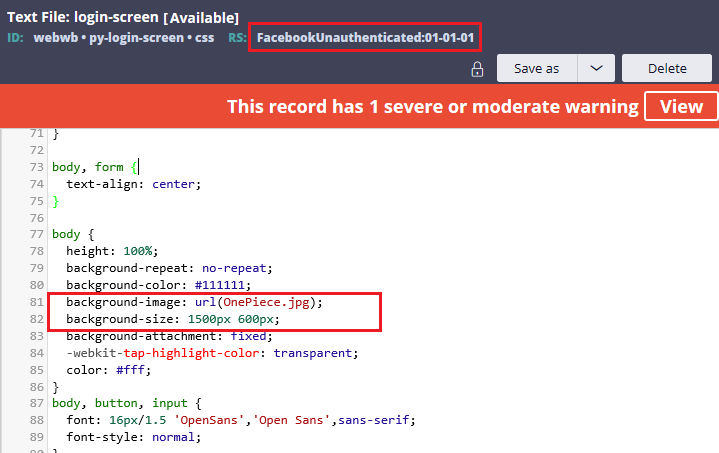
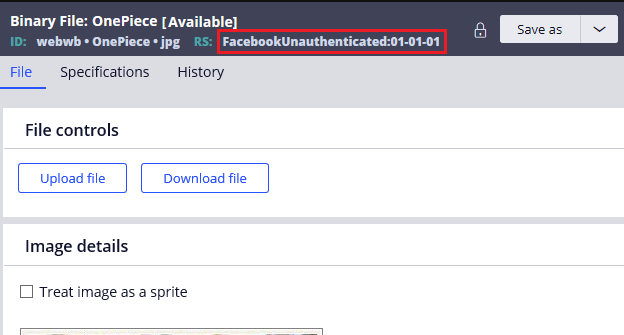
Note: To use a custom image, save it as a Binary File in your unauthenticated ruleset under the
webwbdirectory.
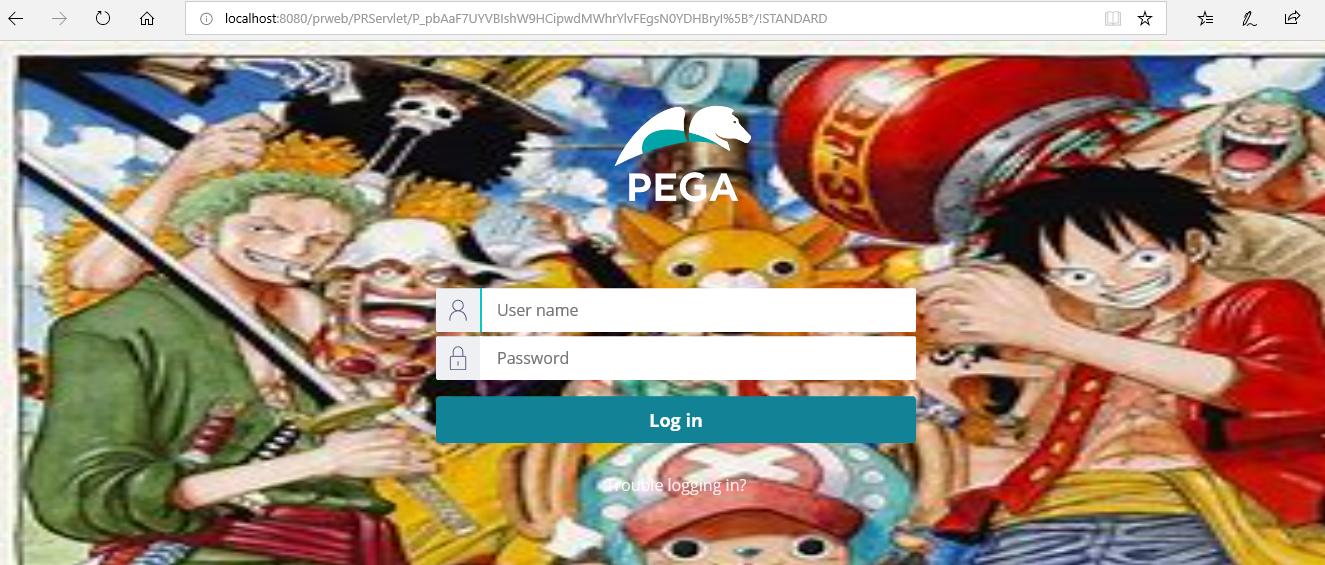
The Result
Launch your Pega URL again to see your customized homepage in action!
You now have a secure way to manage rules for guest users. In future posts, we will explore more rules that can be placed in this unauthenticated ruleset to enhance the user’s pre-login experience..
Detailed steps can be found in the YouTube video –